|
| |
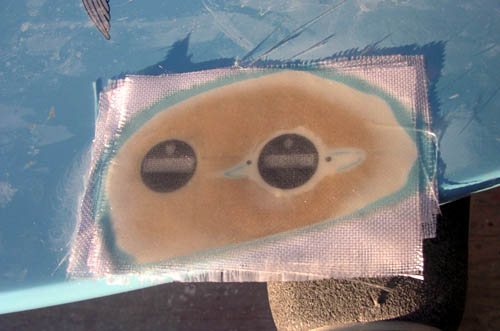
| FCS inserts in
Surftech Tuflites |
|
 |
As stoutly as these inserts
are installed, it does not take much of an impact to drive the aft end of a
fin into the board, breaking the fixture and/or breaking it loose.
Fortunately, Surftech boards have closed-cell Urethane
foam in way of all inserts, so that in case of "normal" breakage, water intrusion is
confined to the immediate vicinity of the fixture. |
 |
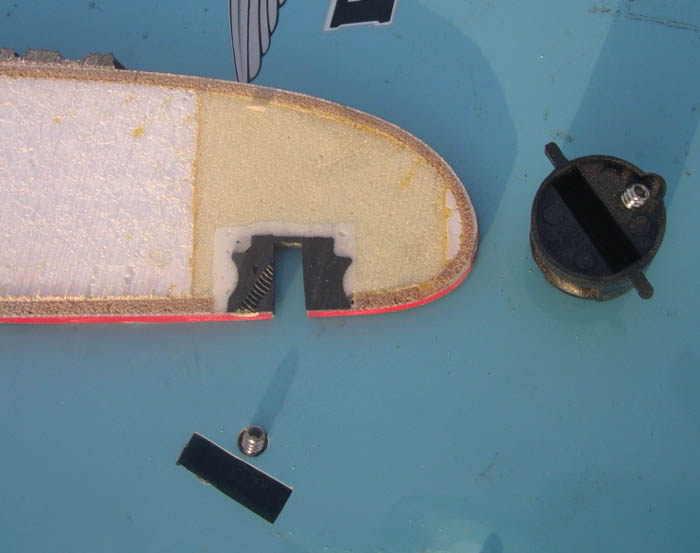
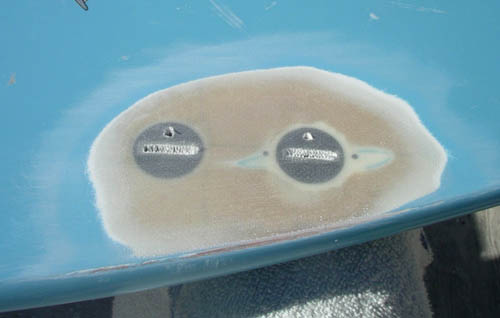
Typical grounding damage:
the fin pivoted aft, pushing the insert down and splitting it. The
fiberglass that used to cover the insert delam'd in the bargain (and then I
tore it off to see what was what) |
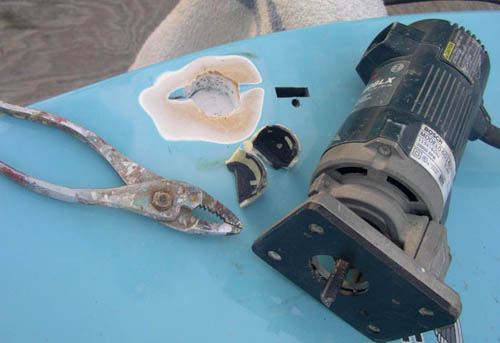 |
Toughest part of the job is
to remove the remnants without causing further damage.
A sharp router bit will cut away most of the old insert,
but it usually breaks loose when you get close to the perimeter. Before it
starts to spin madly, its best to switch to gentle prying with pliers (easy
now - you might break something :)
|
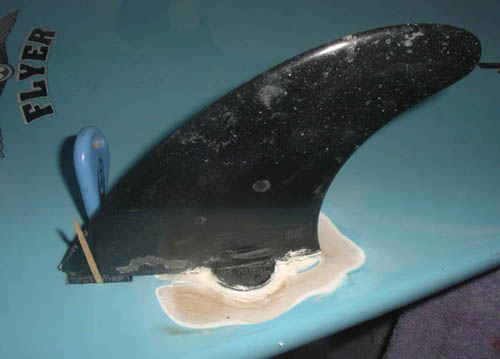 |
Screw the new insert to the
appropriate "foot" of a retired fin (well-waxed, lest this
installation be a permanent one!), half-fill the cavity with slow Epoxy
filled to toothpaste consistency with Q-Cells or such, install with a
rocking motion to eliminate air bubbles, square things up with flat
toothpicks in the "good" insert as needed, and fasten the other fin screw.
Check to make sure the base of the fin is exactly parallel to the bottom! |
 |
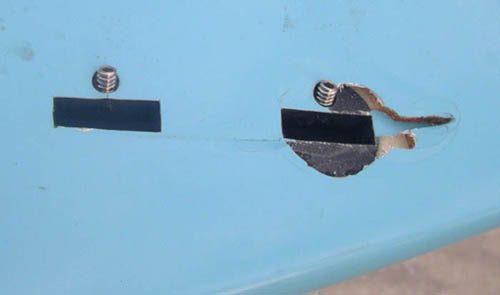
On closer inspection, it
turns out that the narrow strip of glass covering the space between fin
opening and screw hole of the starboard forward FCS insert was split and
delaminated. Its a vulnerable little thing, easily dislodged when starting
the fin screw in a kittiwoompus manner - ok ok, my spell checker just went
nuts - in an oblique manner, then :) |
 |
so - since I was in the
neighborhood, anyway, I decided to glass over the forward insert as well:
(3) layers of 4oz cloth - (2) to replace the original
laminations, one to sacrifice to the fairing ahead. |
 |
all ground down - I start
with 60 grit in the 5" random-orbital sander, then finish with 120 grit over
a 3" length of 2x2, in order to assure a properly flat surface.
Screw locations are dimpled and fin foot openings
scored, so that I can find them again once everything is covered with filler,
primer and paint. |
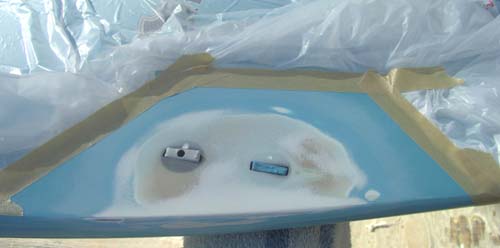 |
fairing compound applied to
fill the cloth weave and whatever low spots, sanded down with 120 grit on a
sanding block. Epoxy primer applied, then
sanded down with first 120 grit, then 220 grit paper on a sanding block.
Insert openings are dressed with a file.
Everything is masked off in the vicinity, and old
bits of fins placed into the inserts to keep paint out. |
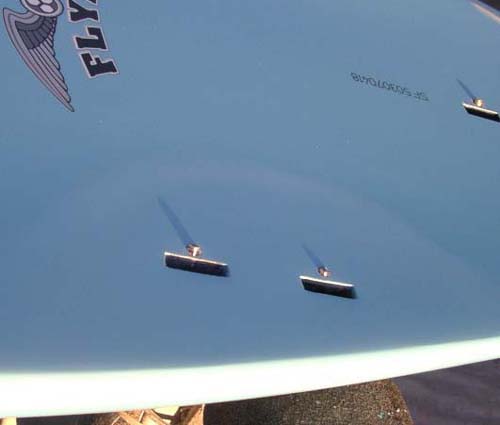 |
A fancy, "blended" paint job: first coat full color,
next - slightly bigger - cut 35% with clear, next - slightly bigger yet -
cut 65% with clear, last - slightly bigger yet - clear clear. Sanded down
with 400, 600 & 1200 grit wet & dry, then polished.
'Tis a lot of extra work and material cost, so not
really in the realm of "repairs".
But it sure looks good!
Tidy fin plug openings with a file, chamfer all
edges, insert screws. |
|
return to Repair Menu |
|