| |
Softop Snaps
or "you mean I gotto get off before I
hit the beach??"
| As stoutly as Softops
are built, they come to me snapped more often than any other type of
board. I suppose its because they are primarily used by novices; and
they are frequently used and abused as rentals.
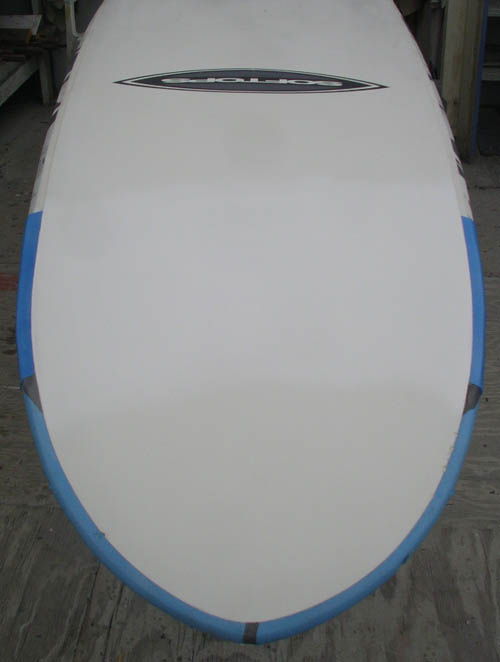
More often than not, there is evidence of impact
on the tip of the nose, and a buckle or snap 2ft there"aft"er. Such as
this one: |
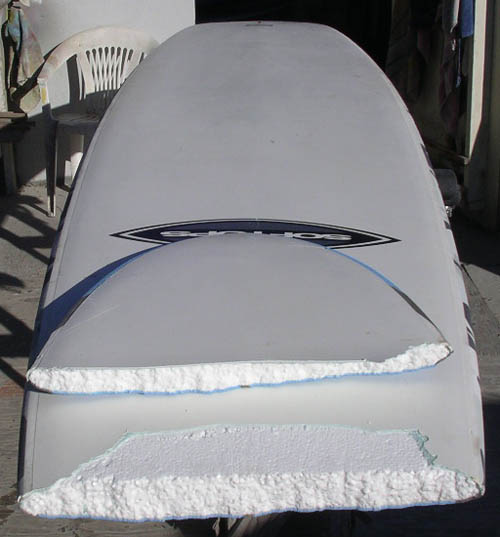 |
near-new rental board, the shop
owner nearly in tears, the nose neatly severed - it must have been a
hard impact indeed, to have caused such a straight forward snap without
any significant delam! |
 |
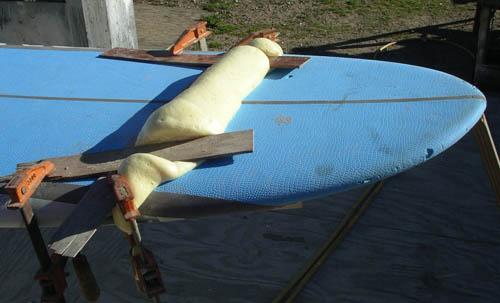
Dry-fitting the bits - during a
violent event such as a snap, edges get pushed and shoved ever which
way, so that they won't go back into their appointed places without some
adjusting, i.e. cutting back with a utility knife. As hard as I try to
initially save as much of the original structure as possible to help
with the alignment, I usually end up cutting away a fair amount of
stuff, to allow the rest to properly fit together. |
 |
After taking things apart again and
meticulously removing all loose bits, the two halves are clamped
securely to a rocker jig, the bottom of the joint taped over (one of the
few good applications around boards for Duct Tape!), and Marine Urethane
foam injected to "set" the joint and replace any chunks that may have
been lost in the accident. |
 |
Once the Urethane foam has set (I
prefer to "let it rest" overnight, lest there is interaction with
subsequent building materials), I re-clamp and grind away all loose
and/or superfluous stuff on the bottom, then bevel-grind the adjacent
fiberglass laminations. Overall panel thickness is vastly less than in
Tuflites, so it takes a bit of practice to get a consistent bevel
without digging into the soft foam nearby. |
 |
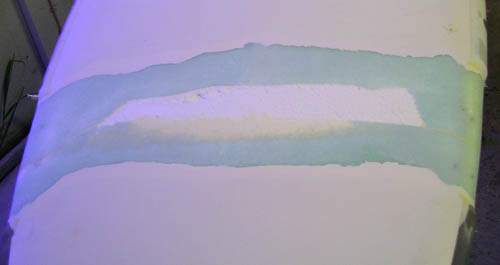
Whatever divets and crevices (plus
little grinder slips) are filled with an Epoxy/Q-Cell paste (the slow
variety, of course!), to create a smooth substrate for the fiberglass
laminations. Big Softops have up to 20oz of fiberglass in their skins,
plus extra reinforcement on the rails, so I apply (5) layers of 4oz
cloth, well-staggered, lapping over the turn of the rails, plus add (2)
additional patches on the rails, since a lot of fairing happens there
and some losses are likely. |
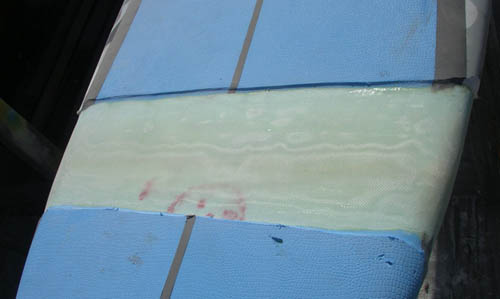 |
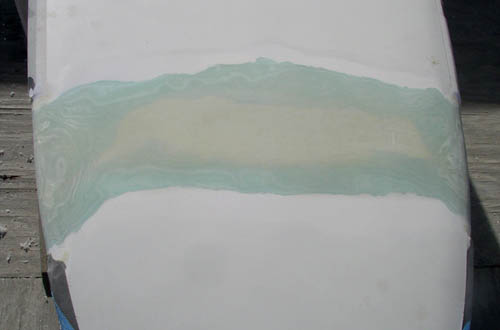
Repeat on deck, with all layers
wrapping the rails, so that all told, we end up with twice as much glass
on the rails as on the flats - which is the way they come from the
factory.
see the graffiti emerging? cute! |
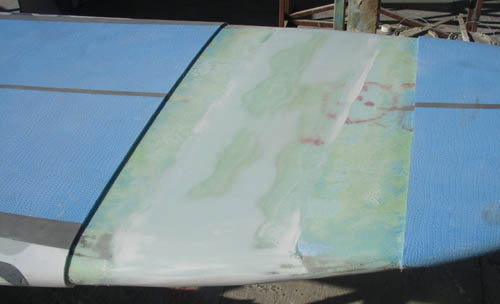 |
Edges of the EVA padding are cut
nice & tidy & parallel, superfluous stuff scraped away with a
single-edged razorblade. Laminations are feathered out and faired with
VC Epoxy fairing compound.
I always feel like a voyeur when I uncover such
scribbles. Left by the Thai builders, they felt certain that their
graffiti would be forever covered up. |
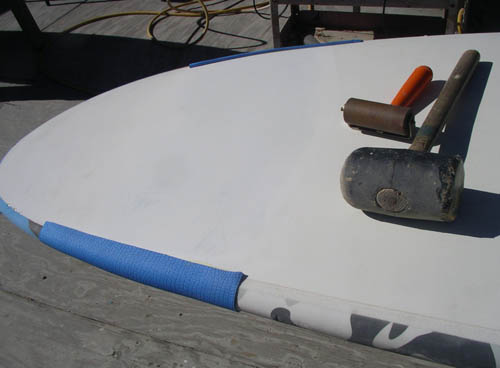 |
Deck & bottom faired and primed, the
new piece of EVA padding is installed. Cut a smidge longer fore & aft
than the available space, and to generously go around the rails and
thensome, it is applied with the flammable type of contact cement,
rolled down with vigor, and the edges "set" by pounding them with a
mallet.
Lest you tear or otherwise maul your handiwork,
nothing but a brand-new blade in the utility knife will do to trim the
edges of the EVA! |
 |
With the
sander rotating into the edge of the EVA pad, the new bit is
beveled to conform to the angle of the original padding. Any other
direction will tear your spanking new pad and force you to start over
again! frustrating, that!!
The primer is sanded down in preparation for the
bottom paint. |
 |
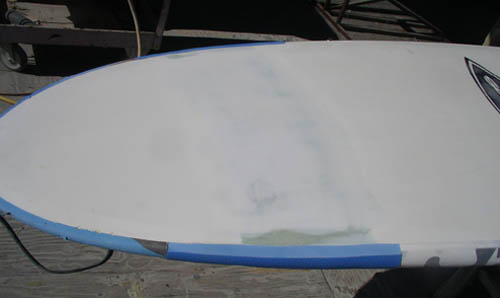
With the edges of the EVA securely
taped off - the inexpensive, beige tape seems to stick the best, and it
helps to have thoroughly cleaned the EVA prior (I use a soft eraser for
this job) - and anything within 3ft of the repair covered or taped off,
the bottom gets painted. Even though newer Softops have a plastic skin
over their fiberglass, it seems to work well to just paint over it all,
as long as it is a decent paint - I use 2-pack LP and have never had to
look back.
Once the paint has tacked, remove the tape. Let
cure over night. Sand the paint's edges with 320 wet & dry paper, then
rub out with a Scotch Purple Pad, to imitate the satiny appearance of
the original finish. |
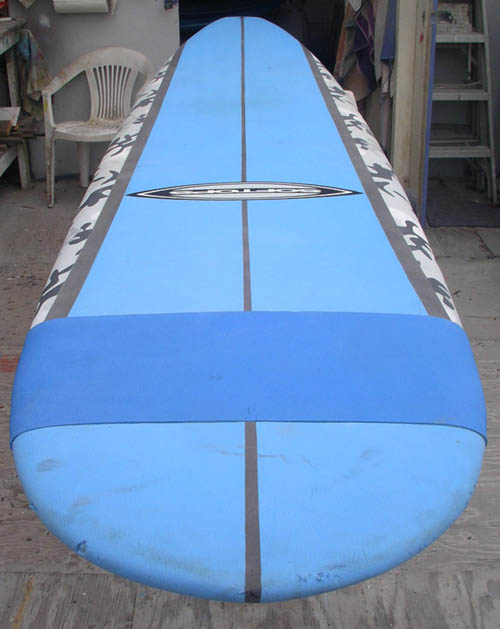 |
With the patterns getting exotic
even on these lowly Softops, I give up and go for the "contrast band"
look - works for me :) |
|
back to Repair Menu |
|